These instructions are Step #1 of connecting Jira and Proggio, as described in the Proggio app https://app.proggio.com/integration/jira.
In order to go through this process in Jira, you must be a Jira Administrator.
| Step | Jira screenshot |
|---|---|
|  |
| 2. From the Jira settings, select “Products” |  |
| 3. Select “Application link” |  |
| 4. Type Proggio URL here: https://app.proggio.com/ |  |
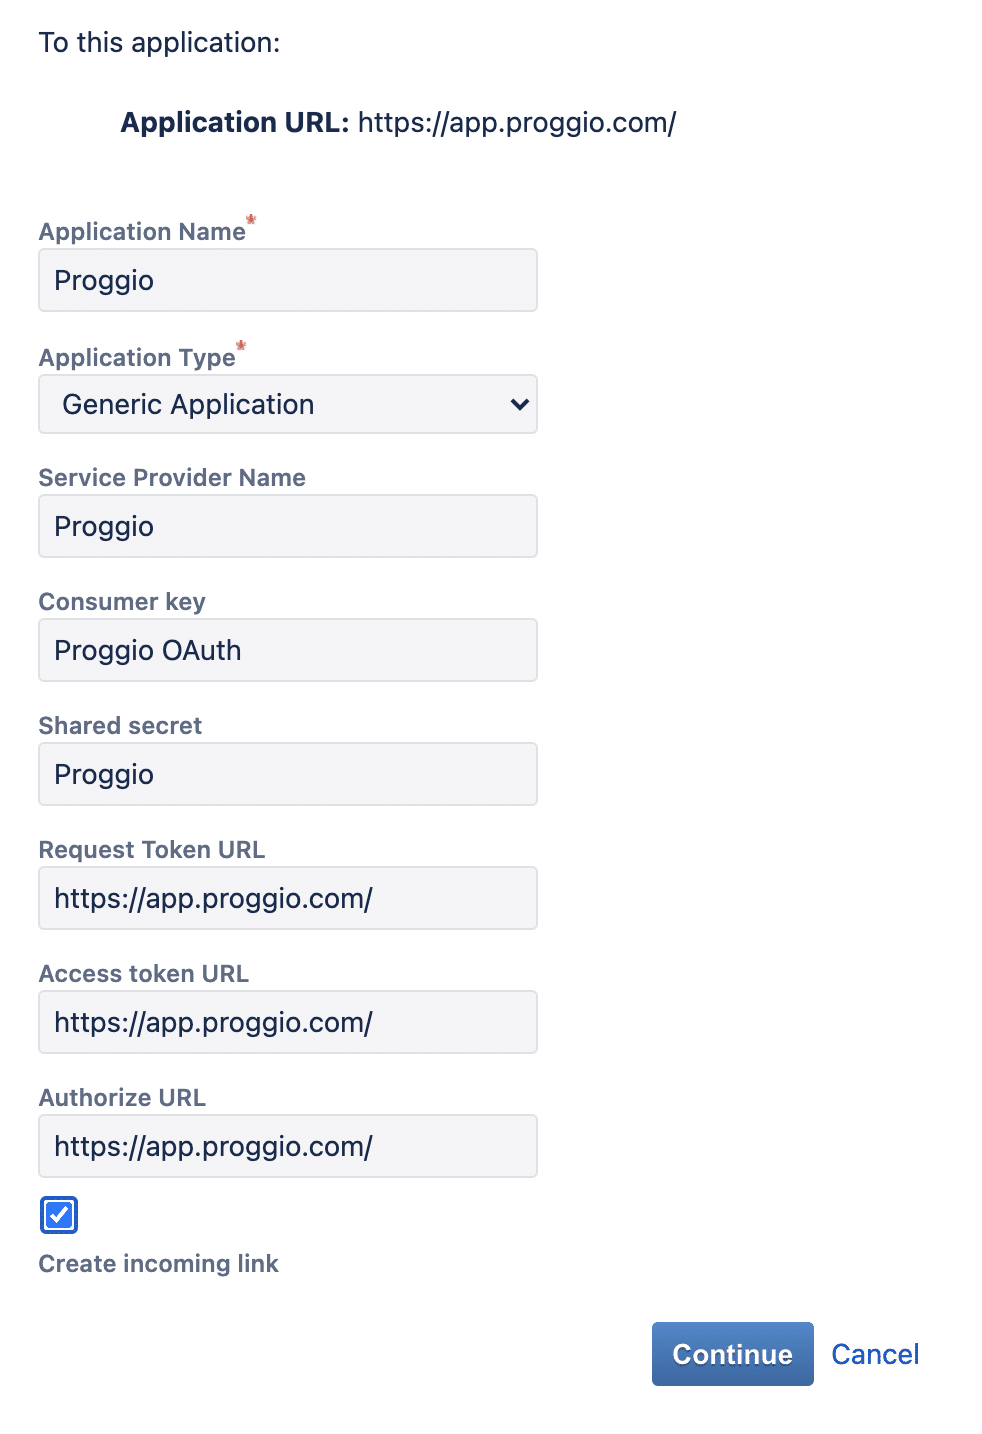
5. Add the following information:
Click “Continue“. |  |
6. Copy the key from Proggio app https://app.proggio.com/integration/jira.
Click “Continue“ |  |
| 7. You are all set, please move to settings up Jira in Proggio |  |
Congrats! The application link is now created in Jira!
Please proceed now to Step #2, as described in https://app.proggio.com/integration/jira.
Any questions? Contact us directly with the in-app chat, or email [email protected]